How to Mix Boom Bap Drums: Punch, Saturation & Low End (2026)
This article contains affiliate links. If you buy through them, GUIO Records may earn a small commission at no extra cost to you. As an Amazon Associate I earn from qualifying purchases. Outside the US, Amazon links open your local Amazon store (UK, Canada, Germany, France, Italy, Spain, Netherlands, Poland or Sweden).
Most guides on boom bap stop at programming the pattern, and most mixing guides are written for rock drums with overheads and room mics. This one is about the middle: what to do with a sampled kick, a snare, some hats and a dusty break so they hit hard on a loop, with the order to work in, starting values, and the exact MPC screens for each step.
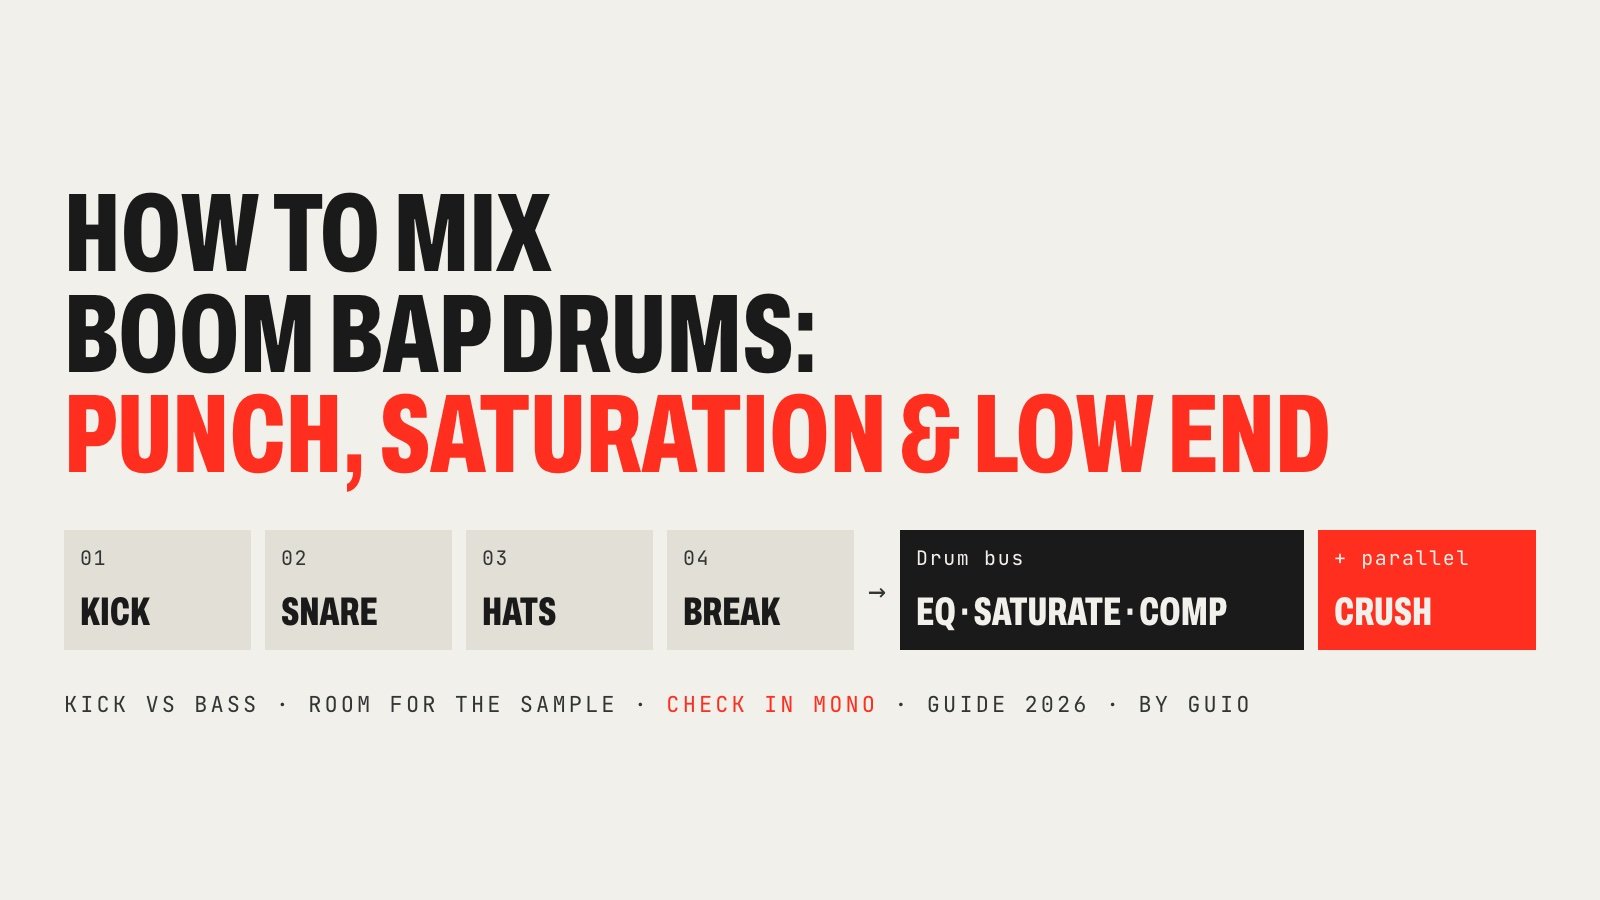
How this guide was made: I make and mix boom bap on an Akai MPC Live III, through a Universal Audio Apollo Twin X, and check it on Dynaudio LYD 48 monitors and OLLO Audio X1 headphones. The order of work comes from that use. The numbers are starting points from the published sources linked at the end (Attack Magazine, LANDR), not my personal presets, and where sources disagree I say so. MPC effect names and screens come from Akai’s MPC 3 user guide (v3.4).
What makes boom bap drums sound like boom bap?
Part of the classic sound was never “mixing” at all: it was the sampler. The E-mu SP-1200, released in 1987 and used by Pete Rock, DJ Premier, RZA and many others, recorded at 12 bits and 26.04 kHz, with analog filters on its outputs; Wikipedia’s account of it describes the result as warm, dirty and gritty. The Akai MPC60, designed by Roger Linn and released in 1988, added its timing feel. DJ Premier’s classic workflow, as Gearnews describes it, went through an Akai S950 before the MPC60’s pads.
So the goal of a modern boom bap drum mix is a balance of three things: punch (the front of each hit gets through), grit (some saturation and roughness, like those machines) and space (the kick, the bass, the sample and a rapper each have a place). Every step below serves one of those three. If you have not built the beat yet, start with our guide on how to make boom bap beats on an MPC.
Boom bap mixing cheat sheet
Here is the whole guide in one table. Each row has its own step below.
| Element | Its job | First move | Common mistake |
|---|---|---|---|
| Kick | Weight and the downbeat | High-pass the rumble, small boost near 60 Hz, cut boxiness | A long tail that fights the bass |
| Snare | The backbone, on 2 and 4 | Find body and crack, cut ring | Too much reverb on the snare itself |
| Hats | Movement in between | Low-pass, keep them quiet | Hats you hear before the snare |
| Break layer | Texture and air | High-pass, tuck it under | Its low end doubling the kick |
| Drum bus | Glue and color | EQ › saturation › light compression | Squashing the transients |
| Parallel bus | Weight without losing punch | Crush it, blend it under | Blending it louder than the dry drums |
| Bass | Low end with the kick | Duck it or arrange around the kick | Bass and kick on the same note, same moment |
| Sample | The music | High-pass, a little off the top | Its own drums and bass left in |
Step 1. Balance the drums with faders only
Turn off every effect and start again from the levels. On an MPC, open the Pad Mixer or use the pad channel strip in Main Mode: its LVL view has the level and pan of the selected pad, so you can mix pads without leaving the main screen.
- Bring up the kick and snare first, both in the center, at the same perceived loudness.
- Add the hats until you can feel them, then stop. If you notice the hats before the snare, they are too loud.
- Tuck the break layer under the one-shots until the drums sound fuller, not louder.
- Bring in the sample and the bass last, below the drums.
Leave headroom: if the drum group is already near the top of the meter, pull everything down together now. Most problems people try to fix with compression are really level problems at this stage.
Step 2. EQ the kick: weight and space for the bass
The kick has two jobs in boom bap: the weight of the downbeat, and a short attack you can hear on small speakers. The sources give you a starting point and disagree on the cut, which is useful in itself, because the right cut depends on the kick:
| Source | Boost | Cut |
|---|---|---|
| Attack Magazine, 90s boom bap breakdown | Small boost around 60 Hz | Significant cut around 150 Hz |
| LANDR, mixing drums | Gentle boost around 55–65 Hz | The “woofy” 250–350 Hz area, to make room for the bass |
Sweep a narrow boost between 150 and 350 Hz until the kick sounds boxy or cardboard-like, then cut there instead. Add a high-pass filter just below the note of the kick so the sub rumble you cannot hear does not eat headroom. On an MPC, AIR Channel Strip has a high-pass filter (0–1000 Hz), low and high shelves and a fully parametric mid band, which is enough for this whole step. Keep the kick dry: reverb on a kick blurs the low end that the bass needs.

Step 3. EQ the snare: body, crack and space
The snare is the star of a boom bap beat. Most guides put its body or weight around 150–250 Hz. Where its “crack” lives is less agreed: several mixing guides say 2–4 kHz, while LANDR suggests a boost between 5 and 8 kHz. Both can be right, because a sampled snare from a dusty record and a clean modern snare do not have the same top end. Boost gently in each area and keep only what helps.
- Ring: if the snare has a ringing tone, it is often between 400 and 800 Hz. Find it with a narrow boost and cut it.
- Tuning: before any EQ, tune the snare in Track Edit (Semi and Fine) so it sits with the sample. It often fixes what you were about to EQ.
- Reverb: put it on a send, not on the snare. On MPC 3, a pad can send to Returns 1–4 from the SEND view of its channel strip; load a short reverb on the return and turn the send up until you hear it, then back it off. Attack Magazine’s breakdown sends just a small amount of its clap to a reverb.
Check whether your snare already has room sound from the record it came from. Classic breaks often do, and stacking a big reverb on top turns the backbeat into a wash.
Step 4. Tame the hats and tuck the break
Hats in boom bap sit behind everything. The simplest move is a low-pass filter on the hat pad: on MPC 3 the Drum FX tab in Track Edit has a Low Pass option per pad, and it takes off the digital shine that makes programmed hats sound modern. Then turn them down a little more.
A break layer under your one-shots adds texture, but it carries its own kick. High-pass the break so its low end does not double your kick, and trim the start of each slice so the attacks line up. If you chop the break into hits, our guide on how to chop samples on an MPC covers it. Panning hats or percussion slightly off center is fine; keep the kick, snare and anything with low end in the middle.
Step 5. Build the drum bus: EQ, saturation and glue
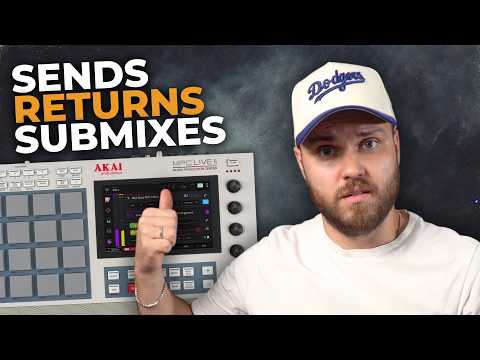
Now process the drums together. On an MPC the drum bus is a submix:
- Select a drum pad and open the I/O view of its channel strip.
- Set Audio Out to Sub 1. Repeat for every drum pad you want on the bus (or for the whole drum track).
- Select Submix 1 in the Track field or the Channel Mixer and load up to four insert effects on it.
A chain that works as a start, in this order:
| Slot | MPC 3 effect | Start with | Why |
|---|---|---|---|
| 1. EQ | AIR Channel Strip (EQ only) or PEQ 4-Band | High-pass below the kick’s note; small cuts only | Clean up before you add color |
| 2. Saturation | AIR Tube Drive, or AIR Diode Clip | Drive low, raise until you hear it, then back off | Akai describes Diode Clip as useful for “subtle grit to drum breaks” |
| 3. Compression | Bus Compressor (try Oldskool on) or Compressor Vintage | Low ratio, 1–3 dB of gain reduction on the loudest hits | Glue, not loudness |
| 4. Transients (optional) | Transient Shaper or AIR Transient | A little more attack if the compressor dulled the hits | Gets the front of the hit back |
The settings in the third column are my rule-of-thumb starting points, not values from a manual. The one thing to watch is the transient: too much saturation or compression flattens the front of the kick and snare, and that front is the “punch.” Bypass the whole chain every few minutes at the same loudness to check it is really better.
Some engineers keep the kick off the drum bus, or bus it separately, so the saturation does not muddy the low end. If your bus sounds woolly, try that before reaching for more EQ.

Step 6. Add parallel compression for weight
Parallel compression, also called New York compression, blends a heavily compressed copy of the drums under the dry drums. The quiet details and room sound come up, and the original transients stay intact. Attack Magazine’s tutorial gives this starting point:
| Setting | Starting point (Attack Magazine) |
|---|---|
| Threshold | Very low, so the compressor is almost always working |
| Ratio | About 2.5:1 (in its example, gain reduction still reached nearly 30 dB) |
| Attack | As fast as possible |
| Release | Medium, about 300 ms |
| Detection | Peak, if the compressor offers it |
| Blend | To taste, below the dry drums |
On an MPC there are two ways to do it. The simple one: use a compressor with a mix control on the drum submix. AIR Compressor has a Mix control (0–100%) and the Bus Compressor, Opto, VCA and Vintage compressors have Dry/Wet; set it heavy and bring the mix down until the drums sound bigger, not smaller. The flexible one: route the drums to two submixes, a clean one and a crushed one, and balance the two faders.
Solo the crushed signal once: it should sound terrible, pumping and flat. That is right. It is only there to sit underneath.

Step 7. Make the kick and bass work together
This is where most boom bap mixes go muddy. A kick and a bass note on the same beat both want the same low frequencies. Three fixes, from simplest to most technical:
- Arrange it. Let the bass play just after the kick, or leave the bass out on some kicks. In boom bap the bass line often follows the kick pattern, which is exactly why they collide.
- EQ it. Decide which one owns the lowest octave. If the kick has the weight at 60 Hz, cut a little there on the bass; if the bass is a deep sine-like note, let it own the bottom and keep the kick’s click higher up.
- Duck it. On MPC 3, add Mother Ducker Input as an insert on the kick and set it to Bus 1. Add Mother Ducker on the bass track, set it to read from Bus 1, and adjust Threshold, Ratio, Attack and Release until the bass dips briefly under each kick. Mother Ducker has eight internal buses, so you can duck the sample from the kick too.
Keep the low end mono. Bass, kick and the lows of the sample belong in the center. On the main output, AIR Limiter and AIR Maximizer both have an LF Mono setting (10 Hz–1 kHz) that collapses the lows below the frequency you choose.

Step 8. Make room for the sample
The sample is usually the loudest-sounding thing in a boom bap beat even when its fader is lower, because it is full of mids. To keep the drums in front:
- High-pass the sample so its own bass and kick drum do not stack on yours. This is the single most common reason a boom bap beat sounds muddy.
- Take a little off the top too. Attack Magazine rolls off the low end and a small amount of the highs on its sample, which leaves room for the hats and the snare’s crack.
- Duck it slightly with the kick with the same Mother Ducker setup as the bass, or a compressor sidechained to the kick, as in Attack’s breakdown. A small dip is enough; you are not making dance music.
- Leave the center for a voice. If a rapper will be on the beat, the sample’s midrange will fight the vocal. Mix the beat with that in mind.
If you cannot get a sample to sit, or you cannot clear it, replaying the chords on keys is the classic workaround, and it gives you a part you control.
Vintage keys & effects pluginsMartinicSample won’t sit, or can’t be cleared? Replay the chords yourself with plugin emulations of vintage organs and classic synths, and you control every frequency.
Step 9. Add grit last, then check everything
Vintage character goes on at the end, when the balance already works. On MPC 3 you have two tools:
- AIR Lo-Fi lowers bit depth and sample rate, with a mix control. Blend it on the drum submix rather than crushing it at 100%.
- Vintage Mode (Preferences › General) applies the sonic character of machines such as the MPC3000 or MPC60 to the audio output. It changes everything, so compare it on and off at the same level.
Then check the mix the way a listener will hear it:
- Mono. Sum the mix to mono. If the snare or the sample disappears, something is out of phase or panned too wide.
- Low volume. At a quiet level you hear balance, not excitement. The kick and snare should still lead.
- Two systems. I check on Dynaudio LYD 48 monitors and on OLLO Audio X1 headphones, and a last pass on the Sennheiser HD 25 I use for DJing, because closed headphones exaggerate different things. Monitors show you how the beat feels in a room; headphones show sub-bass and small clicks. Our guides to the best studio monitors and the best headphones for music production cover options at every budget.
- References. Compare at matched loudness with records you know: DJ Premier’s “Mass Appeal” or “N.Y. State of Mind” (our breakdown of who produced every song on Illmatic), Pete Rock’s “They Reminisce Over You (T.R.O.Y.)”, or The Low End Theory. Listen for how loud the kick and snare are next to the sample, not for the exact sound.
Mixing boom bap drums in a DAW (FL Studio, Ableton, Logic)
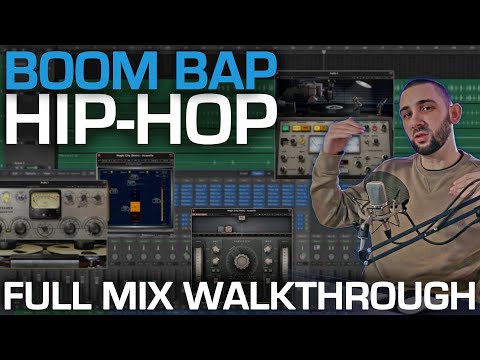
Everything above works the same in a DAW; only the names change. The submix becomes a mixer track, group or bus; the sends and returns become sends to an effect track; Mother Ducker becomes your DAW’s sidechain input on a compressor. Attack Magazine’s boom bap breakdown, built in Ableton Live, groups the drums with Ableton’s Drum Buss and puts a limiter on the master, with the same kick EQ and sidechained sample as above.
If you work across both, a common hybrid is to sequence and sample on the MPC and record the drums into the computer as separate stems to mix there. Whichever you choose, the order of work does not change.
What I mix boom bap on
This is my real setup, linked in case you want the same tools. It is not the only way: every step in this guide also works on the MPC’s own outputs and a pair of decent headphones.
Where to buyAkai MPC Live III
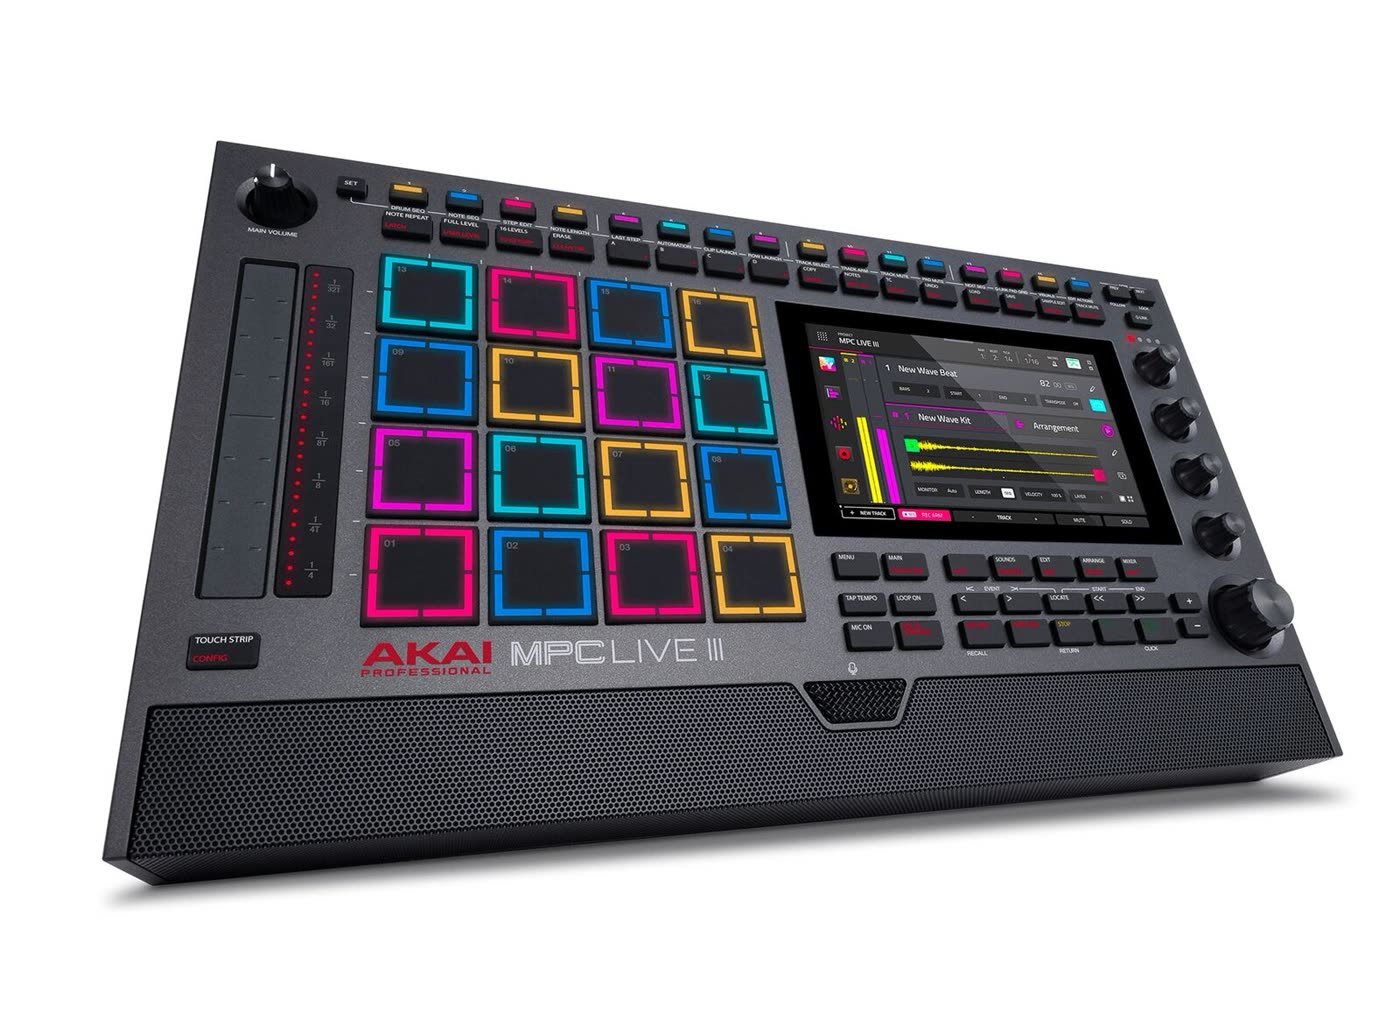
The MPC Live III is where I sequence, chop and do the first mix of the drums, with the submixes and effects described above. My full take is in the MPC Live III review.
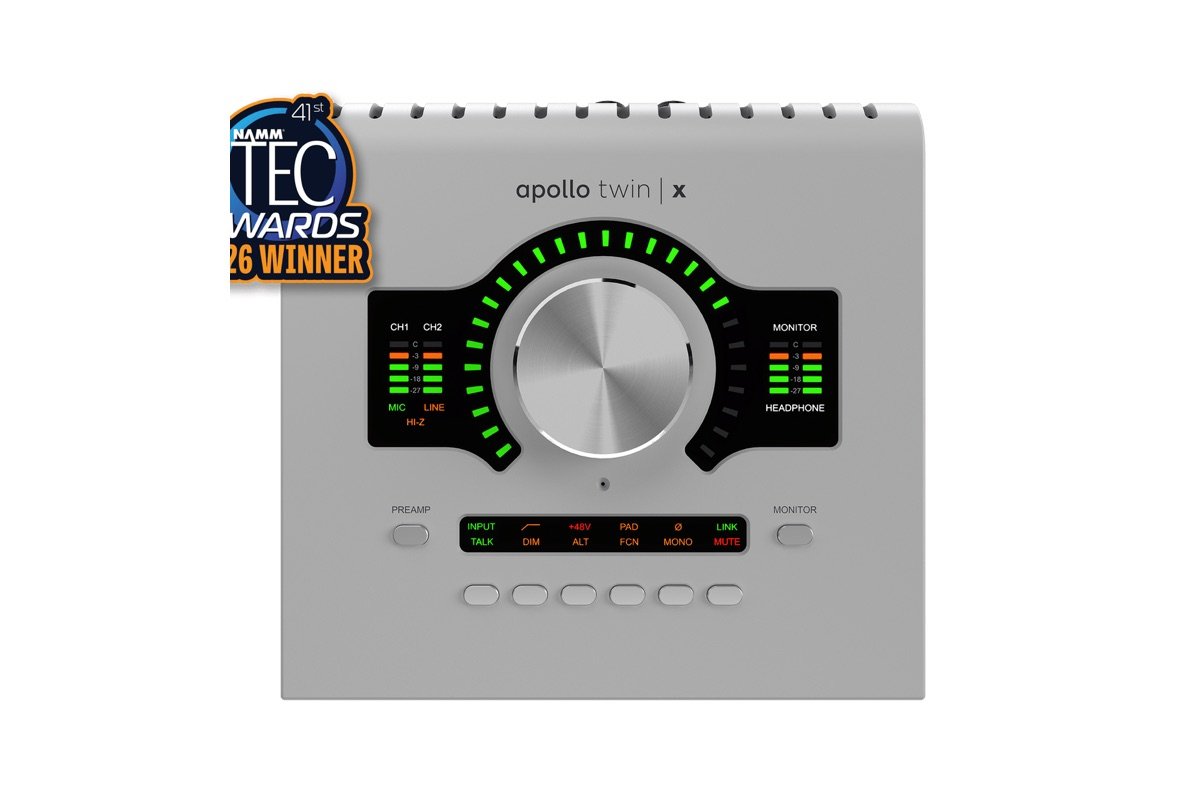
Where to buyUniversal Audio Apollo Twin X DUO Gen 2
I produce and mix through an Apollo Twin X. The box above is the current Gen 2 version of it. For other interfaces, see our audio interface guide.
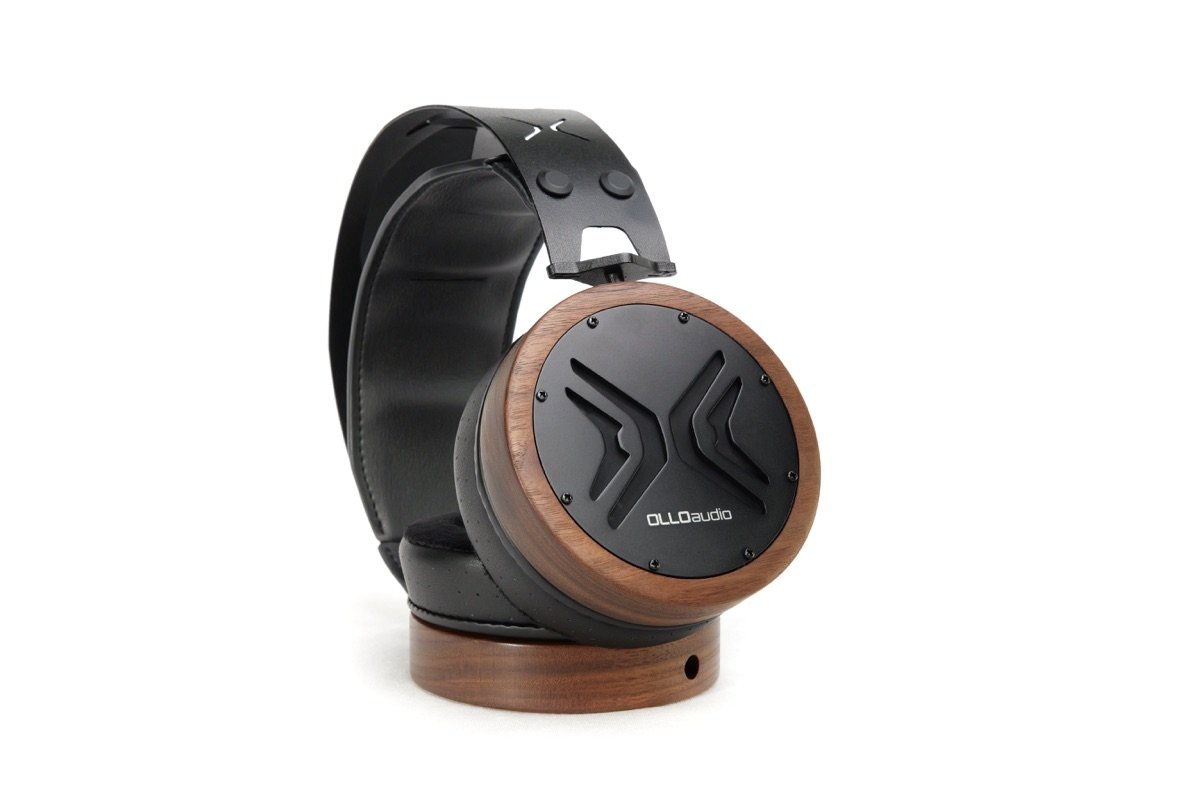
Where to buyOLLO Audio X1
The OLLO X1 is the pair of headphones I mix on. Open-back headphones like these suit mixing in a quiet room; for recording or DJing you want closed ones.
Eight boom bap mixing mistakes to avoid
- Mixing with the effects on from the start. Balance with faders first.
- Solo-mixing the snare. A snare that sounds huge alone often sounds harsh in the loop.
- Hats louder than the snare. The most common sign of a programmed-sounding beat.
- A break with its low end left in, doubling the kick.
- Saturating until the punch is gone. Grit should color the hit, not flatten it.
- Parallel bus louder than the dry drums. It belongs underneath.
- Kick and bass on top of each other, then trying to EQ the problem away.
- Judging changes at different volumes. Louder always sounds better for a moment. Level-match before you decide.
Royalty-free samplesSpliceA good mix starts with good sources. Royalty-free boom bap one-shots, drum breaks and soul samples, licensed for commercial releases.
How to mix boom bap drums: FAQ
How do you mix boom bap drums?
Balance kick, snare, hats and any break with faders first. Then EQ the kick for weight and space for the bass, give the snare body and crack, low-pass the hats, and route the drums to a bus with gentle saturation and light compression. Blend in parallel compression for punch, make sure the kick and bass do not fight, carve room for the sample, and check in mono and on more than one system.
How do you make boom bap drums hit hard?
Hard-hitting drums come from good samples, level differences and space, not from more processing. Keep the kick and snare clearly louder than the hats, leave silence between hits, use a transient shaper or a slower compressor attack so the front of each hit gets through, and add parallel compression under the dry drums instead of squashing them.
How loud should drums be in a mix?
There is no fixed number. In boom bap the kick and snare are usually the loudest elements next to the vocal, and the hats sit well below them. What matters more is headroom: keep the drum bus and the master out of the red so there is room for mixing and mastering, and judge the drums at a low listening level, where balance problems are easier to hear.
Should I put reverb on a boom bap snare?
Often, yes, but short and on a send rather than on the snare itself, so you control how much you hear. Many classic boom bap snares already carry room sound from the record they were sampled from, so check before you add more. Turn the reverb up until you hear it, then back it off a little.
What is a drum bus?
A drum bus is a channel that all your drum sounds are routed into, so you can process them together. On an MPC it is a submix: set each pad’s Audio Out to Sub 1, then put up to four insert effects on Submix 1. In a DAW it is a group, bus or mixer track that the drum channels feed.
Do you compress drums in boom bap?
Usually yes, but lightly. Many producers rely on the character of the samples and the sampler, then use a little bus compression for glue and parallel compression for weight. If the drums already sound flat and loud before compression, more compression will make them worse.
How do you sidechain on an MPC?
On MPC 3, add Mother Ducker Input as an insert on the kick track or pad and set it to a bus (1 to 8). Then add Mother Ducker as an insert on the track you want to duck, such as the bass or the sample, set it to the same bus and adjust Threshold, Ratio, Attack and Release. AIR Pumper fakes the same effect rhythmically without a trigger.
What frequency is the kick in boom bap?
The weight of most kicks sits roughly between 50 and 100 Hz, and mixing guides suggest small boosts around 55–65 Hz (LANDR) or 60 Hz (Attack Magazine). The useful cut is usually above that, where the kick sounds boxy: Attack cut around 150 Hz in its boom bap breakdown, LANDR suggests 250–350 Hz. Use your ears and your sample, not a chart.
How do you mix boom bap drums in FL Studio or Ableton?
The same way. Route the drum channels to one mixer track or group, put EQ, saturation and a compressor on it, and use a send or a dry/wet control for parallel compression. Ableton’s Drum Buss, used in Attack Magazine’s boom bap breakdown, combines drive, transients and low end in one device.
How do you mix boom bap vocals?
Mix the drums first so the vocal has a clear space, then keep the vocal in the center and on top of the snare. Our guide on how to record rap vocals at home covers the recording side.
Next step Choose your machine: the best Akai MPC in 2026 →
Sources
- Akai Professional: MPC Standalone OS user guide v3.4 (insert effects on submixes, Audio Out routing, channel strip views, Pad Mixer, Dynamics, Distortion and EQ effects, Mother Ducker, LF Mono, Vintage Mode)
- Attack Magazine: Beat Dissected, 90s boom bap hip hop (kick EQ, clap reverb, sidechained sample, Drum Buss)
- Attack Magazine: parallel compression (threshold, ratio, attack, release)
- LANDR: mixing drums (kick and snare frequency starting points)
- Wikipedia: Parallel compression (New York compression)
- Wikipedia: E-mu SP-1200 (12-bit, 26.04 kHz, output filters, producers)
- Wikipedia: Akai MPC60 (1988, Roger Linn)
- Gearnews: how to sound like DJ Premier (S950 and MPC60 workflow)
GUIO Records is not affiliated with Akai Professional, Universal Audio or OLLO Audio. Prices and products change; the buttons show the current price in each store.